How I’ve installed my very own Private Cloud - NextCloud
Ever had to have 2+ Dropbox free-tier accounts to get more storage? Ever had full Google Drive (including Google Photos) or any other service? Here I will explain how we’ve set up our own Private Cloud (oh, it’s free and open-source).
Note: “Cloud” can have many meanings, here we’re basically talking about an online storage solution - it also doubles as a chat-server (audio/video), streaming server, etc - basically NAS (Network Attached Storage) with bells and whistles; and not “Cloud” in terms of Google Cloud or AWS.
Who is it for? ?
Basically it’s for anyone who’s interested in having on-site, private cloud - a solution to which you can connect all your devices (Windows, Linux, Android, etc.) and sync the data between them. It also offers extra tools such as Chat (text / audio / video), Streaming Server (audio / video), sharing via link (like Google Drive does), etc.
How much time? ⌚
It took me roughly 1-2 days (I had trouble setting up Dynamic DNS, I’ll share my code here so you don’t have to figure it out yourselves).
Why? What are the Advantages? Etc. ❓
It all comes down to $ and the calm state-of-mind that it offers. Sure, you can use AWS S3 storage, but then you can’t easily sync all devices, you can’t configure phone’s photos to automatically sync with certain files and upload to ‘The Cloud’, nor can you stream media files from S3 directly to your Chromecast device or other stuff… Also if you do it right, it will probably cost you around 3-5$ / month (electricity bill; but that again depends on where you live and what are the costs);
Disadvantages...
So far the only disadvantages are:
- You’re responsible for availability and security - you have to update your OS, update your Nextcloud, and make sure it’s up and running.
- You don’t have any offsite back-ups out of the box - but you can still use AWS S3 storage (the classes like Glacier or Glacier Deep Archive, i.e. Glacier Deep Archive for 2TB is ~2$ / month). So in case your house burns down (or just the hard-drive) - you still have a backup somewhere.
If you’re ready - let’s begin ?
Hardware Setup
There are several ways to go and things to consider. In a nutshell - the hardware should be able to accommodate a Hard Drive, an Ethernet port, and potentially to have another SATA port to expand the storage (as you will run out of it eventually).
Another thing to consider is electricity - ideally you’d either want a low-consumption ARM-based system (like RaspberryPi, OrangePi, etc), or an old laptop (they consume 20-50 Watts), or some NAS system - but in case of NAS, maybe you’d be better off by using their own OS / software and not Nextcloud. Electric consumption is important as your device will continuously be connected - and this will increase your electric bill, actually that’s the only expense of the setup.
- Use an old laptop - an old laptop isn’t much of use, many of us have some old dusted laptop somewhere. Laptops are good because they are power-efficient, usually come with an Ethernet port, and at least 2 SATA ports - so you can connect 2 hard-drives.
- Use arm-based system - i.e. RaspberryPi or OrangePi - this approach is the most cost-effective but it will require you to purchase a nice case, and to figure out a way to connect it to a hard-drive - a USB connection is an option but it’s pretty slow, but apparently there are better ways.
- Use a mini-PC - another great option is a mini-PC, their form-factor is small and there are good cheap options out there (or just use an old or used one). There are many options - i.e. Intel’s NUCs or ASUS’s MiniPC Series (i.e. this Intel NUC or this cheaper miniPC that seems to have good reviews, but I haven't tried myself).
- A regular desktop PC - it’s not the best but it’s still an option.
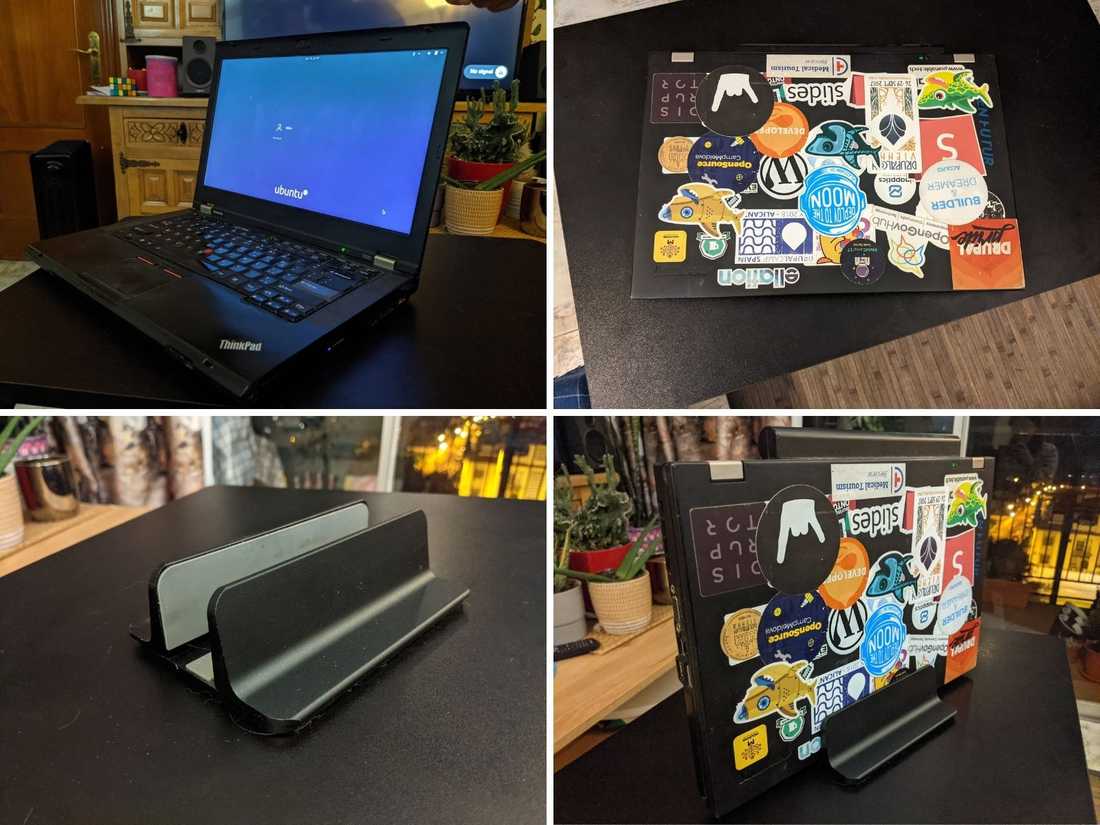
We were looking for mini-PCs originally, but eventually decided to use my old laptop. It has 8GB DDR3 RAM, an oldish Intel i5 CPU, a small SSD for its OS (which is Ubuntu) and we bought a 2TB 2.5 inch HDD (we have converted the DVD bay to HDD bay years ago). So our only investment was the new HDD. We could use a cable and connect the SATA port to a regular 3.5 inch HDD, but it wouldn’t fit and I wanted it to look sexy-ish.

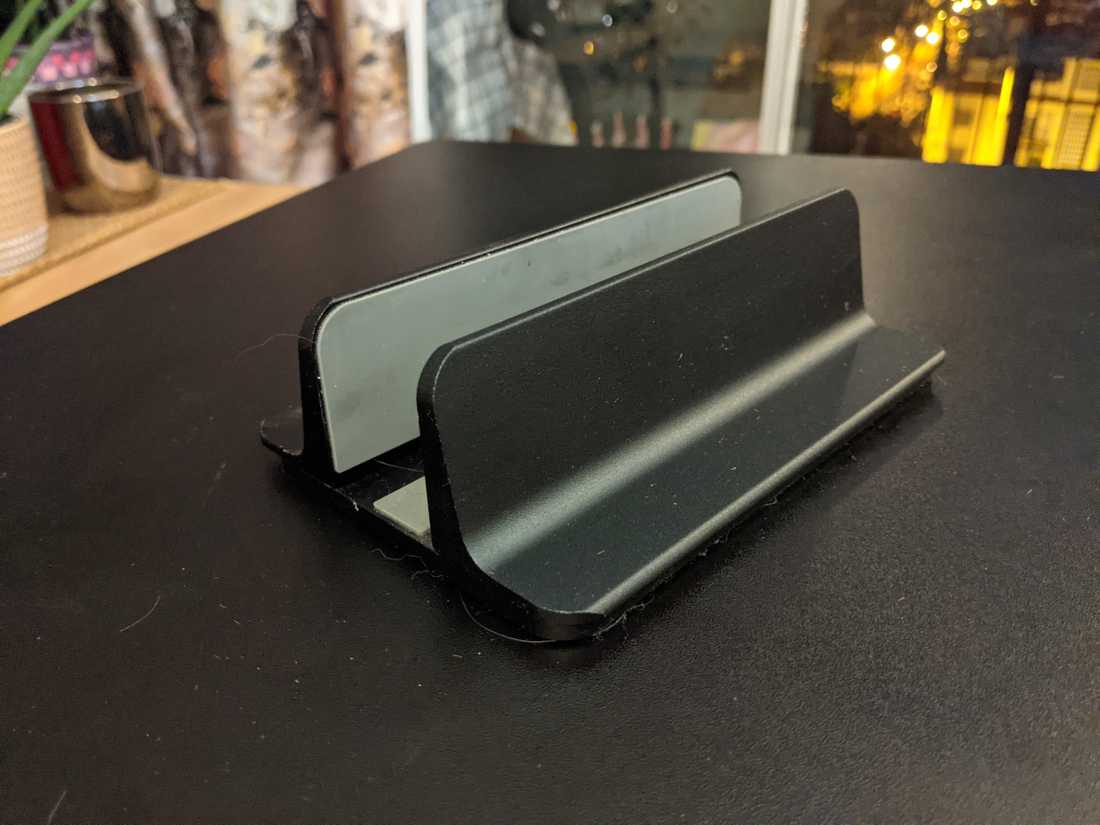
The other thing that we’ve bought is the sexy metal stand - that helps our laptop look like a sleek station. Here are some alternative options: White Laptop Stand & Black Laptop Stand.

How much does it cost to keep it up and running 24/7? I had roughly calculated that it’s about 3-5 euro a month. I’m not 100% sure how much Watts my laptop uses when it’s idle, but being closed like this: the screen is off; the CPU is running so low that the fans completely turn off - I guesstimate that it’s running at 10-20 Watts. To calculate your bill use any random online electric bill calculator - here’s one.
Software Setup
There are several ways to install Nextcloud (on Linux machine):
- As a Snap package - I originally tried this, but you become limited in terms of configurations - you won’t be able to configure Redis, PHP, etc.
- As a Docker container - that might have been a good option too, but in my experience, running a website via docker on that laptop (that’s 5-6 containers up and running) were suffocating my little CPU, and as I like to keep my electric consumption to minimum - I decided not to go with this option;
- As a Service under the LAMP stack - I’ve installed the whole stack and went through manual configuration.
Why did I choose the LAMP approach + manual configs? Because it allowed me to fine-tune the service - I optimized the PHP settings, made sure that I installed all the required optimizations so that my service works fast and I also made sure all security measures are in-place - I guess I didn’t want to give up control.
However, I also recommend you to do the manual set up - and here are some links and tips on how to configure everything.
- Guide on manual installation - and another shorter alternative.
- Guide on security hardening - also once your service is available from outside - use this link to check your security score.
- Server tuning - also once you install the Nextcloud and go to the Settings - Overview page (/settings/admin/overview) you will see the warnings and helpful tips and links on how to improve things, either security or optimization-wise. I recommend going through all of these - even to install and configure Redis.
Some other things you need to do:
- Disable DHCP and set a static IP address for your laptop / mini-PC. There are many ways to do it - it also depends on your OS and the version you’re using. Here’s an example (which I didn’t follow myself, because I have an older Ubuntu).
- Router configuration - you need make sure that all of the incoming external traffic is re-routed to your IP address that you have statically defined. Usually routers have this baked-in their default UI - this can be found under “Forwarding” or “DMZ” or in my case under “Ports”. You’ll want to re-route traffic on port 80 (http) and 443 (https).
- Have a domain and set up Dynamic DNS - we are using something like subdomain.domain.com that points to our current IP address. Our internet provider offers a floating IP address - that changes once a while (usually every time we restart the router). We use Cloudflare, their API and a Cron job to handle this bit (explained below).

Almost forgot - don’t forget to configure your laptop settings so it doesn’t shut down - once you close the monitor.
Dynamic DNS
Normally, once you know your external IP address, you would create a new A entry to point to your external IP, in example: cloud.nikro.me (don’t even try, that’s not the real subdomain ?).
But if you’re having one of those IPs that constantly changes - floating IP addresses, you will need to figure out a way that will automatically update this DNS entry to point to your newly assigned IP address. That’s what they call Dynamic DNS.
For this purpose, I used Cloudflare. Cloudflare hosts my DNS Zone file anyway, and it also offers an API - that you can use to make any changes.
Here’s the shell (python) script that I use to auto-update my DNS entry: https://gist.github.com/Nikro/d630920b7b036a4ce9199d6ac4c2b85e (it’s also pasted right below).
You will need to replace: Token, Zone ID, Entry and Entry ID:
- Token - is used to authenticate with Cloudflare,
- Zone ID - is used to identify your domain you’re working with,
- Entry - this is the full URL (subdomain) of your Nextcloud,
- Entry ID - this is the ID of the entry we’re updating - so before you proceed, please manually create a “A” entry that points to your current nextcloud IP address.
Once you have moved your domain to Cloudflare - you can access this page to create an API Token: https://dash.cloudflare.com/profile/api-tokens - you can pick “Edit zone DNS” - and select your specific domain (zone) - and save the generated Token somewhere - you’ll paste it in your script later.
Now go to your main Cloudflare page of your domain - and if you scroll a bit down, on the right side, you will see “Zone ID” - copy this as well.
Now, if you run this script (make sure you give it: sudo chmod +x update-dns.sh and then you can just: ./update-dns.sh ) with all the things filled-up, except Entry ID - it will print you the JSON reply with all of the Entries in the given Zone ID. Now you can scroll through the reply and find the Entry ID (key “id”). Once you find it, re-edit your file and paste the Entry ID.
Here comes the last bit - add this shell script to your crontab. To do this, you can just type in shell: crontab -e and then make sure you have this line:
*/30 * * * * ~/scripts/dns-update.sh
*/30 means that the script will be called every 30 minutes - you can adjust this - if you never worked with the crontab, use this website - https://crontab.guru/
Now, you can try and reset your router and simulate the IP change and see what happens - hopefully it all goes well.
Streaming Music to your Chromecast - your own Spotify service, no ads included
To have our ? organized we used this Nextcloud App: https://github.com/owncloud/music
It indexes all of your music and allows you to access it via various APIs, such as Subsonic. This is a great feature, because you can now use various Apps on different devices (such as your Android Phone) - to connect to your server, browse the contents, make playlists and stream audio. Here’s a huge list of Subsonic Apps.
So by setting up the Nextcloud App, indexing your audio files, going to this path: /apps/music/#/settings - and creating an authentication token (or you can use your nextcloud credentials) - you can already listen to your music on-the-go.
However streaming to Chromecast - came with a bit of a challenge. I’ve browsed quite some apps, but didn’t find anything that would work - until I have landed on Dsub for Subsonic -
https://play.google.com/store/apps/details?id=github.daneren2005.dsub&hl=en&gl=US
It’s not a free app (it costs ~4$) - but the developer sure thing tried many ways to make it work smoothly - you will find a ton of various check-boxes and options that you can toggle to adjust your chromecast casting experience ?
Mobile App
Nextcloud comes also with an Official Mobile App - https://play.google.com/store/apps/details?id=com.nextcloud.client&hl=en&gl=US
You can connect it to your URL, with your credentials - and it has various neat options, including Instant Photo Uploads - these are really handy if you or your partner makes a lot of photos / videos.
If you’re planning to use Calendar / Events and other features, this app syncs those too.
And if you’re planning to actively use their chat feature - they also released a separate Official mobile app for that too - https://play.google.com/store/apps/details?id=com.nextcloud.talk2&hl=en&gl=US
Startups & Business
If you’re running a small business (or mid-sized one ?) or a startup - and you need a place to share events, tasks, chat, collaborate and share files - Nextcloud is an amazing tool for that.
You don’t have to pay anyone “per seat” - you can create as many seats as you want and remain in control of your business data (all of the files & generated meta). I wish I knew about Nextcloud when we started Drupal Moldova Association - it would make my life way simpler.
The new version (21) also includes boards for collaborative brainstorming sessions:
Other Goodies
There are many things I didn’t mention (or did I?) - which might be helpful for you, or you can just ignore them:
- Email integrations and Events - you can plan events, have a calendar, track your ongoing emails, etc.
- Todo lists, whiteboard, text-editing and more;
- Annotate, comment and tag any files - this is useful for finding random stuff, i.e. you can project-based tags;
- Invite multiple family members to the cloud or colleagues - Nextcloud allows you to have multiple users, each having their own files - and you can have folder sharing within the family;
- Use it for audio-books ? with Bookmarks - we also use it for listening to Audio books, as it has a bookmark feature where you can bookmark places you left off, so you can knowingly resume.
If you have decided to do your own setup, please send a picture and a few words about how you did it, for what purpose, etc - I’m very curious :)
💡 Inspired by this article?
If you found this article helpful and want to discuss your specific needs, I'd love to help! Whether you need personal guidance or are looking for professional services for your business, I'm here to assist.
Comments:
Feel free to ask any question / or share any suggestion!